DIY Guide: How to Replace Faucet Valve Seats
Believe it or not, a leaky fixture can pour out over 3,000 gallons of water each year! That’s enough to fill a small swimming pool! A quick parts swap saves cash and water—no pro plumber required.
This guide makes repairs simple. With the right tools and parts from Installation Parts Supply, you’ll stop leaks fast. Avoid expensive service calls and live leak-free with valve seat faucet.
Use our detailed steps for a hassle-free repair. Top-grade parts deliver durability and boost your DIY confidence.
Summary Highlights
- Leaks waste water and increase bills—quick fixes prevent damage.
- Tackling it yourself cuts out plumber fees.
- High-quality parts from trusted suppliers improve durability.
- Basic tools and clear guidance suit any skill level.
- Regular maintenance extends the life of your fixtures.
Why Faucet Valve Seat Replacement Is Essential
A small drip might seem harmless, but it can lead to big problems. Damaged valve seats leak water, boost bills, and risk fixture damage. Early repairs cut costs and maintain smooth operation.
Spotting a Faulty Valve Seat
Be on the lookout for:
- Persistent drips even with the faucet off.
- Inconsistent flow, like spurts or weak pressure.
- Rust or pits on the valve seat area.
A dripping kitchen faucet spoils dishes and stains sinks. Quick fixes avoid larger repair bills.
Why Wear Causes Drips
Scale buildup plus friction break down components. This creates gaps where water escapes. Left unchecked, valve seat corrosion can ruin the entire fixture.
Count on Installation Parts Supply for robust parts. Their components fend off scale and maintain a solid seal.
Quick leaking faucet repair protects your home and conserves water—up to 3,000 gallons yearly!
What You Need
Good tools plus quality parts deliver lasting repairs. From minor drips to stubborn leaks, proper gear speeds the job. Gather these items first:
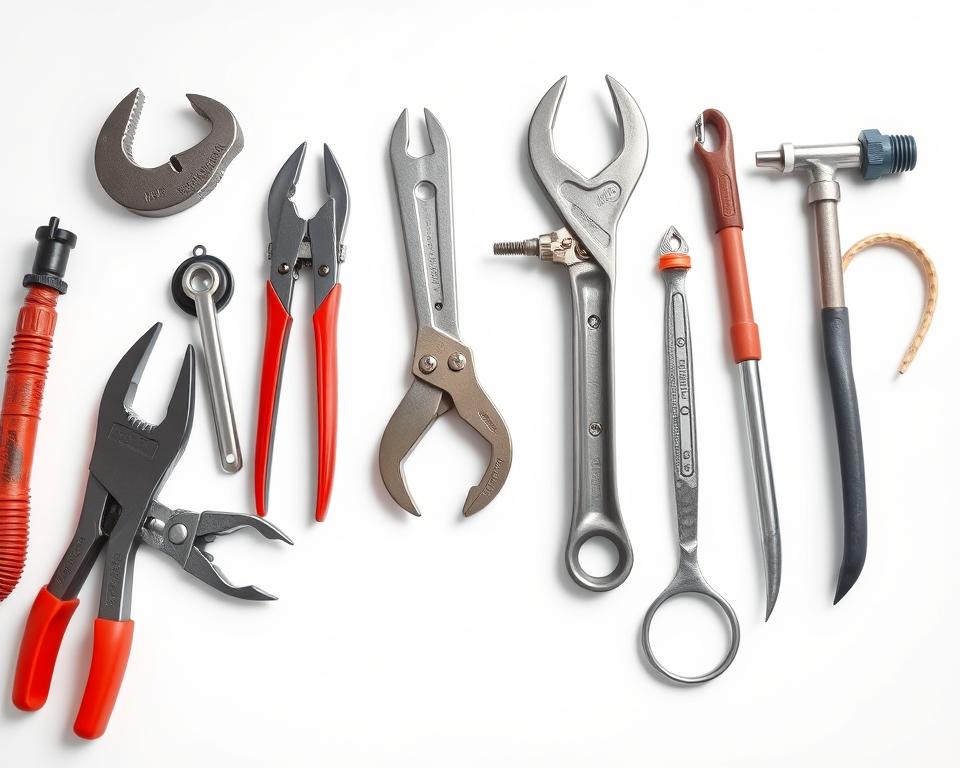
Essential Tools
Essential plumbing tools:
- Adjustable wrench—to loosen retaining nuts.
- Valve-seat wrench for seat extraction.
- Screwdriver set: For handle and cartridge screws.
- Pliers: Grips small components securely.
A grinding tool helps smooth out rough seats. A faucet repair kit with seats, washers, and O-rings covers most replacements.
Where to Buy Quality Parts
Don’t settle for disposable components. Installation Parts Supply offers durable, compatible components nationwide. Each kit comes complete with seals and tech support.
| Essential Tools | Optional (For Advanced Jobs) |
|---|---|
| Adjustable spanner | Seat grinding tool |
| Valve-seat remover | Torch (for stubborn parts) |
| Repair kit | Tubing cutter |
Investing in reliable tools and parts pays off. Your fixtures will stay leak-free longer.
How to Replace the Valve Seat
End water waste with this easy DIY repair anyone can do. Whether you’re a beginner or a seasoned DIYer, these steps ensure a smooth process. Grab your gear and begin.
Step 1: Shut Off Water and Disassemble the Fixture
Locate the shutoff valves under the sink and turn them clockwise. Run the tap briefly to clear water out. Use a screwdriver to remove the handle, then unscrew the retaining nut with an adjustable wrench.
Pro Tip: Mark each piece with tape for easy reassembly. Installation Parts Supply’s anti-corrosion nuts extend service life.
Step 2: Extract the Worn Seat
Check for buildup and wear. Fit a seat wrench into the worn component and turn counterclockwise. For stubborn cases, apply penetrating oil and wait 10 minutes before retrying.
| Common Challenges | Solutions |
|---|---|
| Seized seat | Use heat (carefully) or a locking plier |
| Stripped threads | Replace the entire housing |
Step 3: Fit New Seat
Wire-brush the hole to clear corrosion. Align the new seat (*replace valve seat* from *Installation Parts Supply*) and hand-tighten first. Finish with the wrench, but avoid over-tightening to prevent cross-threading.
Step 4: Reassemble and Test for Leaks
Put everything back together in reverse. Open the shutoff valves gradually. Check for drips—if leaks persist, tighten connections incrementally. Master this fix to conserve water and cash!
The Final Word
Your home deserves hassle-free plumbing that stands the test of time. Fixing worn parts early saves water, cuts bills, and prevents costly damage.
Armed with these instructions, you’ll repair like a pro. Count on Installation Parts Supply for parts that withstand wear.
Keep your faucet in top shape by checking washers each year and snugging handles. Small efforts now avoid big repairs later.
Time to get started—collect your tools and banish drips for good.